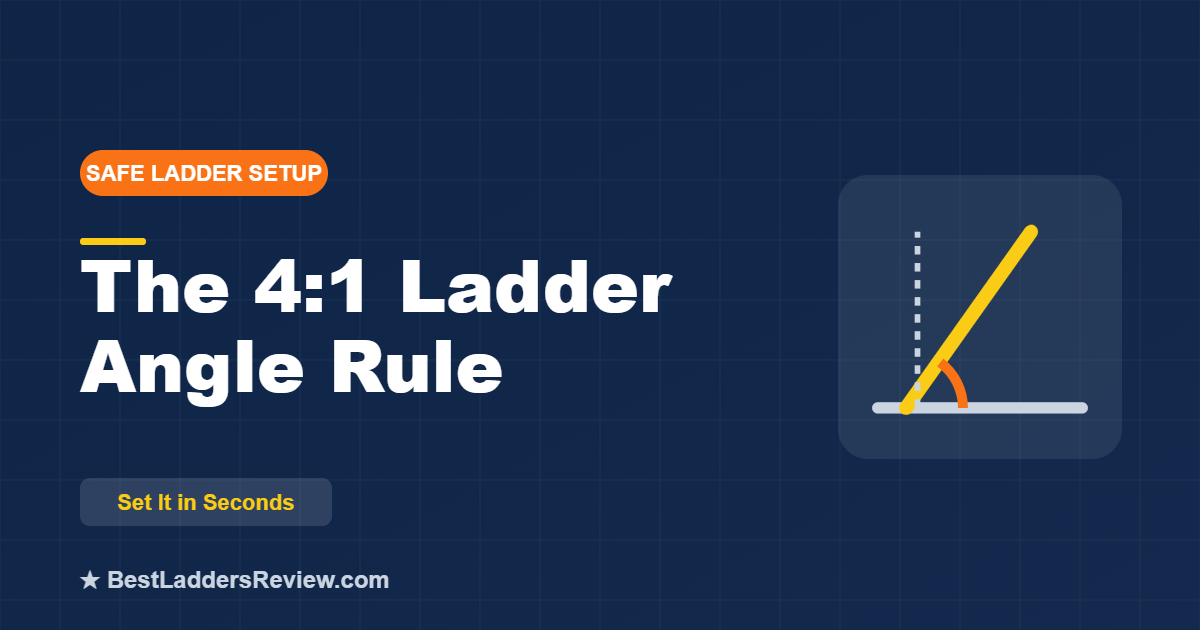
Lean an extension ladder too steep and it can tip back on you; too shallow and the feet can slide out. The fix is one simple rule — 4:1 — and a couple of quick checks. Here is exactly how to set the perfect, safe ladder angle every time.
Here is the single most important thing to know about leaning a ladder: the angle decides whether it stays put or fails. Set an extension ladder against a wall at the wrong angle and you create one of two dangers. Too upright (too steep), and the ladder can tip backward as you climb or reach. Too flat (too shallow), and the feet can kick out and slide along the ground, dropping you fast. Both are common, and both are completely avoidable.
The good news is that professionals use one easy rule to get it right — the 4:1 rule — plus a quick body check that needs no tools at all. In this guide you will learn what the 4:1 rule is, why the angle matters so much, three foolproof ways to set it (including a no-measure trick), and the gear that helps you hold the angle steady on real-world ground. By the end you will plant your ladder at the perfect angle with total confidence. Let us get the lean right. ✅
- The 4:1 rule: move the base 1 foot away from the wall for every 4 feet of height to the top contact point.
- That equals about a 75° angle — the safe sweet spot.
- No-measure check: toes at the feet, arms straight out — palms should just reach a rung.
- Level the base first; a slope ruins the angle.
📋 What’s in this guide
- What is the 4:1 ladder angle rule?
- Why the right angle matters
- How to set the perfect angle (3 ways)
- 3 tools that help you nail it
- Too steep vs. just right vs. too shallow
- What about step ladders?
- Common mistakes (and fixes)
- Pro tips
- Real-life examples
- FAQ
- Final checklist
🎯 What is the 4:1 ladder angle rule?
The 4:1 rule is the simple formula for leaning an extension or straight ladder against a wall safely. It says: for every 4 feet of ladder height (measured to the point where it touches the wall), the base should sit 1 foot away from the wall. So if the ladder touches the wall at 16 feet up, the feet should be 4 feet out from the base of the wall.
That ratio creates an angle of about 75 degrees from the ground — steep enough that the ladder will not slide out, but laid back enough that it will not tip backward. It is the angle building-safety experts and ladder makers recommend, and it is printed right on the side rails of most extension ladders. Get to 75 degrees and the physics work with you instead of against you.
One key detail: the 4:1 rule applies to leaning ladders — extension ladders and straight single ladders. It does not apply to A-frame step ladders, which you simply open all the way until the spreader bars lock flat (more on that below). For any ladder you rest against a wall, though, 4:1 is the number to remember. It is the foundation of safe climbing, and it takes only a few seconds to set.
⚠️ Why the right angle matters
The angle is not a small detail — it is the difference between a stable climb and a sudden fall. Here is what goes wrong at the two extremes.
Too steep (base too close to the wall). When the ladder stands too upright, your weight shifts the balance backward, especially as you near the top or lean out to work. The ladder can peel away from the wall and tip over backward with you on it — one of the scariest and most dangerous ladder failures. A too-steep ladder feels “tippy” and unstable up high.
Too shallow (base too far from the wall). When the ladder lies back too far, the feet bear less downward grip and more outward force. The bottom can slide out across the floor or ground, dropping the whole ladder — and you — straight down. This is especially likely on smooth or wet surfaces. A too-shallow ladder also flexes more and feels bouncy.
Just right (about 75°, the 4:1 angle) balances those forces. Your weight presses the ladder firmly into the wall and the feet firmly into the ground, so it neither tips back nor slides out. That stability is why the angle matters more than almost any other setup step — and why it is worth the few seconds to check every time. Pair it with a level base and the correct height (see our ladder size guide) and you are set up for a safe climb.
🎯 How to set the perfect angle (3 easy ways)
You do not need fancy equipment. Here are three reliable methods, from quickest to most precise. Use whichever you like — they all land you at about 75 degrees.
1. The stand-and-reach test (no tools)
This is the fastest check and needs nothing but your body. Stand with the toes of your shoes touching the ladder feet, then reach your arms straight out in front of you at shoulder height. If your palms just touch a rung without leaning forward or back, the angle is right (about 75°). If you have to lean in to touch it, the ladder is too shallow; if a rung is well past your fingertips, it is too steep. Adjust the base and test again.
2. The 4:1 measurement
For a precise set, measure it. Note the height where the ladder touches the wall, divide by four, and set the feet that far out. A 12-foot contact point means feet 3 feet out; a 20-foot point means 5 feet out. A tape measure makes this exact, which is handy for tall setups where small errors grow.
3. The built-in angle indicator
Many modern extension ladders have an angle sticker or indicator on the side rail — some even have a little level or pointer. Raise or lower the base until the indicator shows the ladder is in the correct position. It is the easiest method of all if your ladder has one, so check the rail before you climb.
🔧 3 tools that help you nail it
The angle is free to set, but a few pieces of gear make it easier to achieve and, crucially, to hold on real-world ground. Each link goes to the current Amazon listing.
Werner D1224-3 24-Ft Aluminum Extension Ladder
Best for: setting a textbook 4:1 angle outdoors
Setting the angle is a skill you practice on a real extension ladder, and this light aluminum Werner is easy to raise and position. Its compact 3-section design stores small, the Traction-Tred D-rungs give sure footing, and the smooth, even sections make it simple to lean at a safe 4:1. A dependable everyday ladder for reaching a two-story roofline.
👍 Pros
- Light and easy to raise
- Grippy D-rungs
- Compact 3-section storage
- Reaches two stories
- Trusted Werner build
👎 Cons
- 225 lb (Type II) rating
- Aluminum — keep from power lines
Werner AC78 Quickclick Ladder Stabilizer
Best for: keeping the ladder steady at the right angle
A correct angle is easier to hold when the top of the ladder cannot twist or slide. This standoff widens the top contact to 44 inches and holds the ladder 10 inches off the wall, so it rests solidly on the surface (not the gutter) and stays put while you work. It clicks on in seconds with no tools.
👍 Pros
- Stops the top from sliding
- Keeps ladder off gutters
- Wider, steadier contact
- Tool-free install
- Protects siding
👎 Cons
- Not for Type II/III ladders
- Adds a little weight
Ganggend Adjustable Ladder Levelers (Pair)
Best for: a correct angle on sloped ground
You cannot set a safe angle if the base is on a slope. These bolt-on levelers adjust each leg independently so the ladder sits plumb and the rungs stay level, even on a hill or uneven yard. A 550 lb rating and anti-slip rubber feet keep the whole setup planted while you dial in the angle.
👍 Pros
- Levels the base on slopes
- Keeps rungs level
- Very high 550 lb rating
- Anti-slip feet
- Affordable upgrade
👎 Cons
- Bolt-on install needed
- Check ladder fit first
📊 Too steep vs. just right vs. too shallow
| Setup | Angle | What happens | Verdict |
|---|---|---|---|
| Too steep (base too close) | Over ~80° | Tips backward as you climb/reach | 🚫 Dangerous |
| Just right (4:1) | ~75° | Presses into wall and ground; stable | ✅ Safe |
| Too shallow (base too far) | Under ~70° | Feet slide out; ladder bounces | 🚫 Dangerous |
| Method | Speed | Precision | Best for |
|---|---|---|---|
| Stand-and-reach test | Fastest | Good | Quick everyday setups |
| 4:1 measurement | Medium | Highest | Tall or critical setups |
| Built-in indicator | Fast | High | Ladders that have one |
The angle is the cheapest safety upgrade there is — it costs nothing and takes seconds. Master the 4:1 rule and you remove the two most common ways a leaning ladder fails.
⭐ What about step ladders?
The 4:1 rule is only for ladders you lean against something. A-frame step ladders are different: they are self-supporting, so you do not set an angle at all. Instead, open the ladder fully until the spreader bars (the metal arms between the front and back) are locked straight and flat. That locks in the correct, stable stance the maker designed.
The mistakes to avoid with step ladders are using one only partly opened, or leaning a folded step ladder against a wall like an extension ladder — both are unstable and unsafe. If you need to lean a ladder against a wall, use an extension ladder (or a multi-position ladder in extension mode) and apply the 4:1 rule. Match the ladder type to the job and set each one the way it was designed to be used.
🚫 Common mistakes (and fixes)
- Mistake: Setting the base too close (too steep). Fix: Pull the feet out to 1/4 of the contact height; use the stand-and-reach test.
- Mistake: Laying it back too far (too shallow). Fix: Move the feet in until palms just reach a rung with arms straight out.
- Mistake: Setting the angle on a slope. Fix: Level the base first with levelers, then set the angle.
- Mistake: Letting the top rest on a gutter. Fix: Use a stabilizer so the top sits on the wall, holding your angle.
- Mistake: Not extending 3 feet above the roof edge. Fix: Extend the ladder past the landing so you can step off safely.
🏆 Pro tips
- Check the rail — your ladder may have a printed angle indicator that does the work for you.
- Tie off or have someone foot the ladder on slick surfaces while you set and climb.
- Level the base before the angle — the two go together on real ground.
- Re-check the angle if you move the ladder even a little; it changes fast.
- Extend ~3 feet above the top contact for roof access and a safe handhold.
📊 Real-life examples
The gutter cleaner. Dave always set his ladder a little too upright because it “felt safer” close to the house — until it tipped back a few inches as he leaned. Learning the 4:1 rule fixed it: “Pulling the base out to a real 75 degrees made it feel planted instead of tippy.”
The quick learner. Maria uses the stand-and-reach test every time now. “Toes to the feet, arms out, palms touch a rung. Three seconds and I know it is right. I taught my whole family.”
The slippery surprise. On a smooth garage floor, Jon set his ladder too shallow and the feet shot out. He now levels and angles properly and foots the ladder on slick ground. “A correct angle plus grippy feet — that combo saved me from a second scare.”
The pro habit. A painter on social media shared: “I set the angle, then double-check with the sticker on the rail before every climb. It is muscle memory now, and I have never had a ladder slide on me in 15 years.”
❓ Frequently asked questions
What is the correct angle for an extension ladder?
About 75 degrees, set using the 4:1 rule: place the base 1 foot out from the wall for every 4 feet of height to the point where the ladder touches the wall. This angle keeps the ladder from tipping back or sliding out.
How do I check the ladder angle without tools?
Use the stand-and-reach test: stand with your toes touching the ladder feet and extend your arms straight out at shoulder height. If your palms just touch a rung, the angle is right. Leaning in to touch means too shallow; a rung beyond your fingertips means too steep.
What happens if the ladder angle is wrong?
Two dangers. Too steep and the ladder can tip backward as you climb or reach. Too shallow and the feet can slide out, dropping the ladder. The 4:1 angle balances these forces so the ladder stays firmly in place.
Does the 4:1 rule apply to step ladders?
No. The 4:1 rule is only for leaning ladders (extension and straight ladders). A-frame step ladders are self-supporting — just open them fully until the spreader bars lock flat. Never lean a folded step ladder against a wall.
How far should a ladder extend above a roof?
About 3 feet (3 rungs) above the roof edge or landing. This gives you a secure handhold and a safe way to step on and off the roof. Set the 4:1 angle first, then make sure you have that extra height above the top.
How do I keep the right angle on uneven ground?
Level the base first. Use adjustable leg levelers so both feet sit level, then set the 4:1 angle. A stabilizer at the top also helps hold the angle by keeping the ladder from sliding sideways. See our uneven-ground guide.
📋 Ladder angle checklist
- ✅ Base is level and firm before setting the angle
- ✅ Feet set 1 ft out per 4 ft of height (4:1)
- ✅ Stand-and-reach test passes (palms touch a rung)
- ✅ Angle indicator on the rail confirms (if present)
- ✅ Top rests on the wall, not the gutter
- ✅ Ladder extends ~3 ft above the top landing
- ✅ Re-checked after any repositioning
The bottom line: the right ladder angle is the foundation of every safe climb on a leaning ladder, and the 4:1 rule makes it easy. Set the base 1 foot out for every 4 feet up, confirm with the quick stand-and-reach test or the rail indicator, and you will hit the safe 75-degree sweet spot every time. Level the base first, hold the top steady with a stabilizer, and extend above the landing for roof work. Master this one habit and you remove the two biggest reasons leaning ladders fail.
📏 The 4:1 angle for common heights (quick reference)
Sometimes it is easier to just look up the number. This table shows roughly how far the base should sit from the wall for common ladder contact heights, using the 4:1 rule. Measure to where the ladder touches the wall, not the very top of the rails.
| Height to wall contact | Base distance from wall (4:1) |
|---|---|
| 8 ft | 2 ft |
| 12 ft | 3 ft |
| 16 ft | 4 ft |
| 20 ft | 5 ft |
| 24 ft | 6 ft |
Notice the simple pattern: the base distance is always one quarter of the contact height. Once you internalize that, you can eyeball a safe starting point and then fine-tune with the stand-and-reach test. For a 16-foot contact point, start with the feet about 4 feet out and adjust until your palms just touch a rung.
A note on slick indoor floors. Tile, polished concrete, and hardwood are exactly where a slightly-too-shallow ladder slides out, because the feet have less grip to begin with. On smooth surfaces, set the angle a touch more carefully, make sure the rubber feet are clean and in good shape, and ideally have a helper foot the ladder (stand on the bottom rung) while you climb. If you use a ladder indoors often, replacing worn, glazed feet with fresh rubber ones restores the grip that keeps your angle honest. The angle and the footing work together: a perfect 75 degrees still needs feet that bite into the surface to stay there.
Related guides on Best Ladders Review
- How to Use a Ladder on Uneven Ground
- Roof Ladder Safety
- What Size Ladder Do I Need?
- More safe-setup guides
Disclosure: BestLaddersReview is reader-supported. As an Amazon Associate we earn from qualifying purchases (tag: rcblogs-20). Specs reflect manufacturer data and may vary by model. Always follow the manufacturer’s instructions, set the correct angle on a level base, and never exceed the rated capacity.