How you position and secure a ladder decides whether it stays put or slides out from under you. This guide covers the perfect angle, solid footing, securing top and bottom, and tricky spots like doorways and slopes.
A ladder can be in perfect condition and still be dangerous if it is set up wrong. The two classic failures — the base sliding out and the ladder tipping sideways — almost always come down to a bad angle, soft or uneven ground, or an unsecured top. The fix is a repeatable setup routine you do every single time.
This guide is that routine. You will master the 4-to-1 angle, learn how to get solid footing on any surface, how to secure both ends, and how to handle doorways, slopes, and wind — plus the gear that makes a rock-solid setup easy. Let us make “set it and forget it” actually safe. 👍
⚡ The setup that will not slip
Place the base on firm, level ground, set a leaning ladder at the 4-to-1 angle (1 ft out for every 4 ft of height), extend it 3 ft above the landing, and secure both ends — foot the base or tie it, and tie or brace the top. Use a leveler on slopes and a stabilizer at the top. Do that and the ladder cannot slide or twist.
📍 Choosing the right spot
Before the ladder goes up, look at where it will stand. You want firm, flat, dry ground directly below the work, with nothing slippery (loose gravel, wet leaves, ice) under the feet. Check overhead for power lines and branches, and make sure the top will rest against something solid — not a window, a gutter you might crush, or a flimsy surface. Give yourself room to climb straight up without leaning, and keep the area below clear of people and trip hazards.
🦶 Getting solid footing
The base is where most slides start. On hard floors, make sure the feet are clean and the slip-resistant pads are intact — worn pads are a real hazard. On soft ground like grass or soil, the feet can sink unevenly; set a wide, stable board under both feet (rated for it) or use a ladder with proper feet for soft ground. Never balance one foot on a brick or a loose stone. If one side sits lower, that is a job for a leveler, not improvisation.
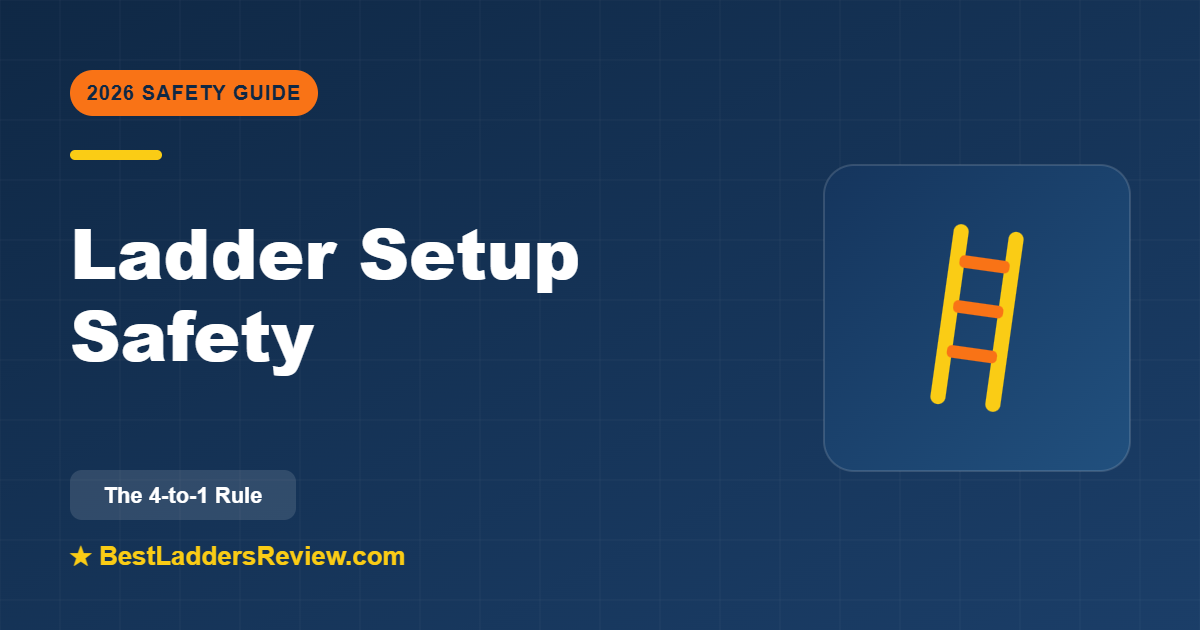
📐 The 4-to-1 rule in detail
For any leaning ladder, the angle is everything. Too steep risks tipping backward; too shallow risks the base kicking out. The 4-to-1 rule sets the safe ~75-degree angle: for every 4 feet of working height, move the base 1 foot out from the wall. A ladder touching the wall at 12 feet has its feet about 3 feet out.
The quick body check: stand with your toes against the feet and arms straight out — your palms should just touch a rung at shoulder height. If you reach empty air, it is too steep; if your elbows bend, it is too shallow. Also extend the ladder so it reaches at least 3 feet above the edge you step onto, giving you a handhold at the top.
Get the angle and the 3-foot extension right, and a leaning ladder becomes remarkably stable. Skip them, and even a perfect ladder can slide. The angle is the heart of safe setup.
🔒 Securing the top and bottom
A great angle still benefits from securing both ends, especially for longer jobs. At the bottom, have a helper foot the ladder while you set up and climb on, or tie the base to a stake or fixed point so it cannot kick out. At the top, tie the rails to a secure anchor (an eye bolt, a sturdy fixture) so the ladder cannot slide sideways or get bumped off. A stabilizer at the top spreads the contact and stops the twisting that unsecured tops are prone to.
🧩 Tricky spots: doorways, slopes & wind
- Doorways: never set a ladder in front of a door that could open into it. Lock the door or post someone to guard it.
- Slopes & stairs: use a ladder with adjustable leg levelers (or a multi-position ladder in staircase mode). Set it level first, then climb.
- Uneven ground: a leveler tool fixes one low side safely; do not shim with loose material.
- Wind: avoid extension-ladder work in strong gusts. Wind can catch a tall ladder and a sheet of material like a sail.
- Soft or icy surfaces: wait for better conditions or create a firm, rated base — never trust ice or mud.
🔒 Gear for a rock-solid setup
Three inexpensive tools make a safe setup easy in almost any situation.
Werner Aluminum Ladder Leveler
Best for: Setting an extension ladder level on slopes and steps.
Adjustable feet that mount to your extension ladder so one leg can extend to meet lower ground — the proper fix for the uneven footing that causes so many slides.
👍 Pros
- Sets the ladder truly level
- Solid, permanent fix
- Per-leg adjustment
- Durable aluminum
- Trusted Werner part
👎 Cons
- Installation required
- Adds a little weight
Why we recommend it: Uneven ground is the top outdoor setup hazard — a real leveler removes it for good.
Werner AC78 QuickClick Stabilizer
Best for: Stopping the top of the ladder from twisting and protecting gutters.
A tool-free stand-off that widens the top contact and holds the ladder off the wall — the single biggest cure for the side-to-side wobble that unsecured tops suffer.
👍 Pros
- Big boost in top stability
- Holds ladder off gutters
- Tool-free install
- Mar-resistant caps
- Affordable
👎 Cons
- Extension ladders only
- Adds width to store
Why we recommend it: It turns a twitchy ladder top into a planted one — the best-value setup upgrade for roof and gutter work.
PiViT LadderTool (5-in-1)
Best for: Stairs, slopes, and quick stable bases without a permanent install.
A rugged 5-in-1 wedge that levels a ladder leg on slopes, works as a step on stairs, or as a stable base — a flexible setup helper that needs no installation.
👍 Pros
- Universal — no fit worries
- Great on stairs and slopes
- No installation
- Doubles as a step
- USA-made
👎 Cons
- Takes practice
- Not a permanent leveler
Why we recommend it: For homes with stairs or uneven ground, it is an endlessly handy way to get a level, stable setup fast.
🚫 Setup mistakes (and fixes)
- Wrong angle. Fix: use the 4-to-1 rule and the toes-to-feet body check.
- Shimming a leg with loose material. Fix: use a leveler or move to firm, level ground.
- Unsecured top or bottom. Fix: foot or tie the base; tie or brace the top with a stabilizer.
- Top resting on a gutter or window. Fix: use a stabilizer to span the gutter and rest on solid wall.
- Setting up in a doorway. Fix: lock the door or guard it.
💡 Pro setup habits
- Level first, extend second. On slopes, set the levelers before raising the ladder.
- Mark your angle. A piece of tape on the ground reminds you where the feet go for repeat jobs.
- Keep a helper for tall setups. Two people raise and foot an extension ladder far more safely.
❓ Frequently asked questions
What is the 4-to-1 rule?
Set a leaning ladder’s base 1 foot away from the wall for every 4 feet of height. This gives the safe ~75-degree angle that keeps the base from kicking out and the ladder from tipping back.
How do I set up a ladder on uneven ground?
Use a purpose-built leveler (or a multi-position ladder with leg levelers). Never shim a leg with bricks, wood, or stones — they shift under load and cause slides.
How far above the roof should the ladder extend?
At least 3 feet above the edge you step onto, so you have a solid handhold when getting on and off.
Should I tie off my ladder?
For longer jobs and any roof access, yes. Foot or tie the base and tie or brace the top so the ladder cannot slide or get bumped. A stabilizer helps at the top.
Can I set a ladder up alone?
For low step-ladder work, usually. For tall extension ladders, a helper to foot the base while you raise and climb on makes setup much safer.
✅ Your setup checklist
- Chose a firm, level, dry spot clear of power lines
- Confirmed clean, intact feet (or a rated base on soft ground)
- Set the 4-to-1 angle and extended 3 ft above the landing
- Secured the base (footed or tied)
- Secured or braced the top (tie or stabilizer)
- Used a leveler on any slope or step
- Push-tested for any rock or slide before climbing
🏠 Setup walkthroughs: 5 real scenarios
Theory clicks when you see it applied, so here are five common setups done right. Extension ladder on grass: set both feet on a wide, firm board rated for the load so they cannot sink unevenly, dial in the 4-to-1 angle, extend three feet above the gutter, and have a helper foot the base while you climb on. Step ladder on stairs: a standard step ladder is unsafe here — use a multi-position ladder with leg levelers set so the platform sits dead level across the steps, and confirm all four feet bear weight before climbing. Leaning against a gutter: never rest the rails on the gutter itself; fit a stand-off stabilizer that spans the gutter and bears on the solid wall above it. Working in a stairwell: again a leveler-equipped ladder is the answer, set level on the angled floor, with the top secured if you will be up there a while. On a deck or balcony: check the surface is solid and dry, keep the feet well back from the edge, and never lean outward over a railing. Picture the setup before you build it, and the right moves become obvious.
🧰 Setting up on different surfaces
Every surface behaves differently under a ladder. Concrete and hard floors are ideal — just make sure the feet are clean and the slip pads are intact, because dust or sawdust turns even concrete slick. Grass and soil can let the feet sink unevenly, especially after rain; use a wide rated base board or a ladder with spurs for soft ground. Gravel and loose stone shift easily, so rake out a firm, level patch or move to better footing. Tile and polished floors indoors can be slippery; a rubber mat under the feet adds grip. Wood decking is usually fine if dry and solid, but watch for soft, rotted boards and keep clear of the edge. And snow or ice is simply a no — wait for clear, dry conditions, because no setup is safe on a slick, unstable surface. When in doubt, the fix is almost always “create firm, level footing,” never “balance it and hope.”
⏱️ A 90-second pre-climb setup routine
Build a routine and you will never skip a step under time pressure. First, choose the spot — firm, level, dry, clear of doors and power lines. Second, set the feet on solid footing, using a board or leveler if the ground is soft or sloped. Third, for a leaning ladder, set the 4-to-1 angle and extend three feet above the landing; for a step ladder, open it fully and lock the spreaders. Fourth, confirm the locks — rung locks, hinges, or spreaders fully engaged. Fifth, secure the ends as needed: foot or tie the base, tie or brace the top, add a stabilizer for roof work. Finally, push-test the ladder at chest height — if it rocks, shifts, or slides even slightly, fix it before your foot leaves the ground. Ninety seconds, every time, and the most dangerous part of ladder work is handled.
🔁 Repositioning safely (and why you should)
The single most common cause of overreach falls is not wanting to climb down and move the ladder. It feels like a waste of time — but repositioning takes seconds, while a fall can change your life. The rule is simple: if you cannot comfortably reach the work with your belt buckle between the rails, move the ladder. Climb all the way down, shift the ladder to center it on the new spot, re-check the footing and angle, and climb again. For long horizontal jobs like cleaning a full gutter run or painting a wall, plan your moves in advance so you reposition in efficient steps rather than stretching “just one more foot.” A rolling baker scaffold is worth considering for big jobs precisely because it removes this temptation. Make repositioning a non-negotiable habit and you eliminate one of the most common ways people get hurt on a perfectly good ladder.
❓ More frequently asked questions
How do I stop my ladder from sinking into the grass?
Place both feet on a wide, firm board rated for the load so they spread the weight and cannot sink unevenly, or use a ladder with spurs designed for soft ground. Never prop one leg on a brick.
What is the safest way to set a ladder against a gutter?
Do not rest the rails on the gutter — it can crush and is unstable. Fit a stand-off stabilizer that spans the gutter and bears on the solid wall above, holding the ladder off and widening the contact.
Can I set up a ladder on stairs?
Only with a ladder built for it — a multi-position ladder with leg levelers set so the platform is level across the steps. A standard step or extension ladder is not safe on stairs.